Deep Dish Steering Wheel Buttons V2
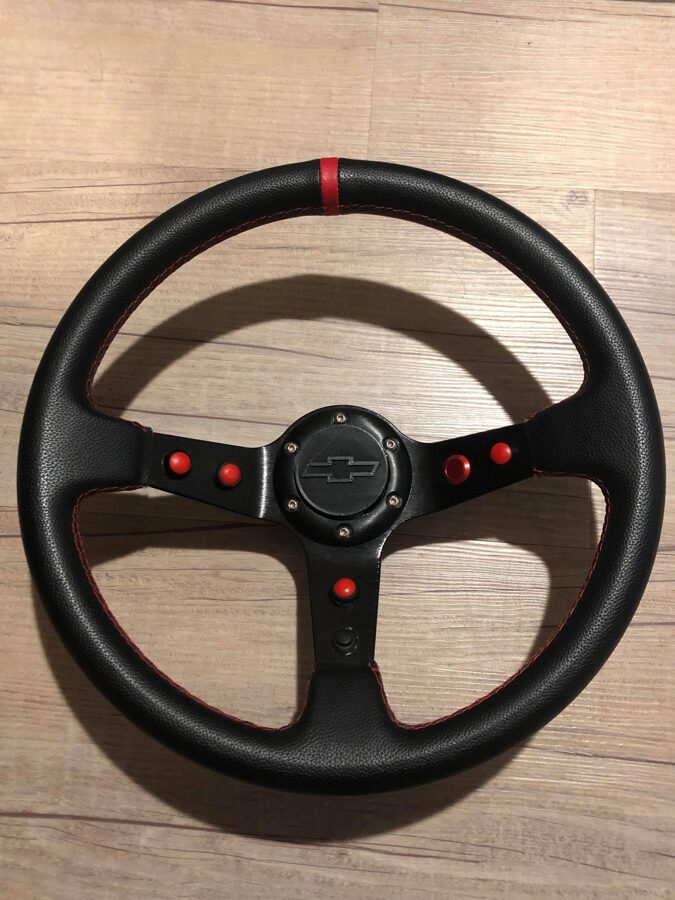
This project is an upgrade from V1 where I am going to eliminate the cord coming off the wheel and getting the power from the base of the wheel.
Arduino Nano
Pushbuttons
Mini din 6 pin male
Superglue Gel
Wires
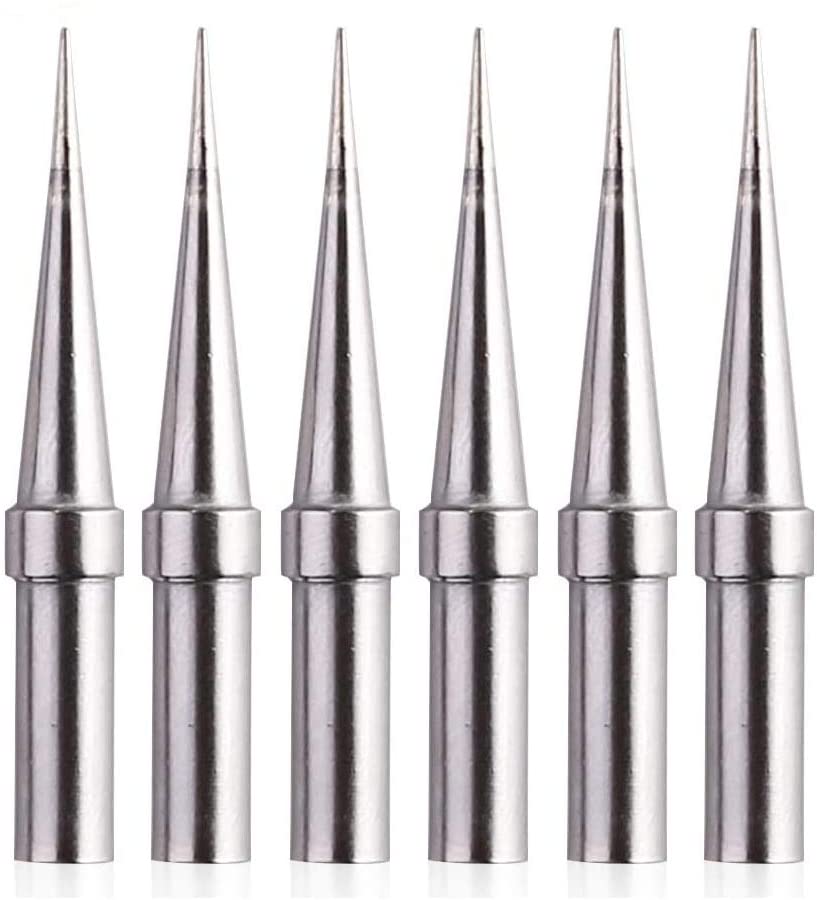
Soldering iron with a Very small tip
Helping Hand With Magnifying Glass
Flux
rotary tool
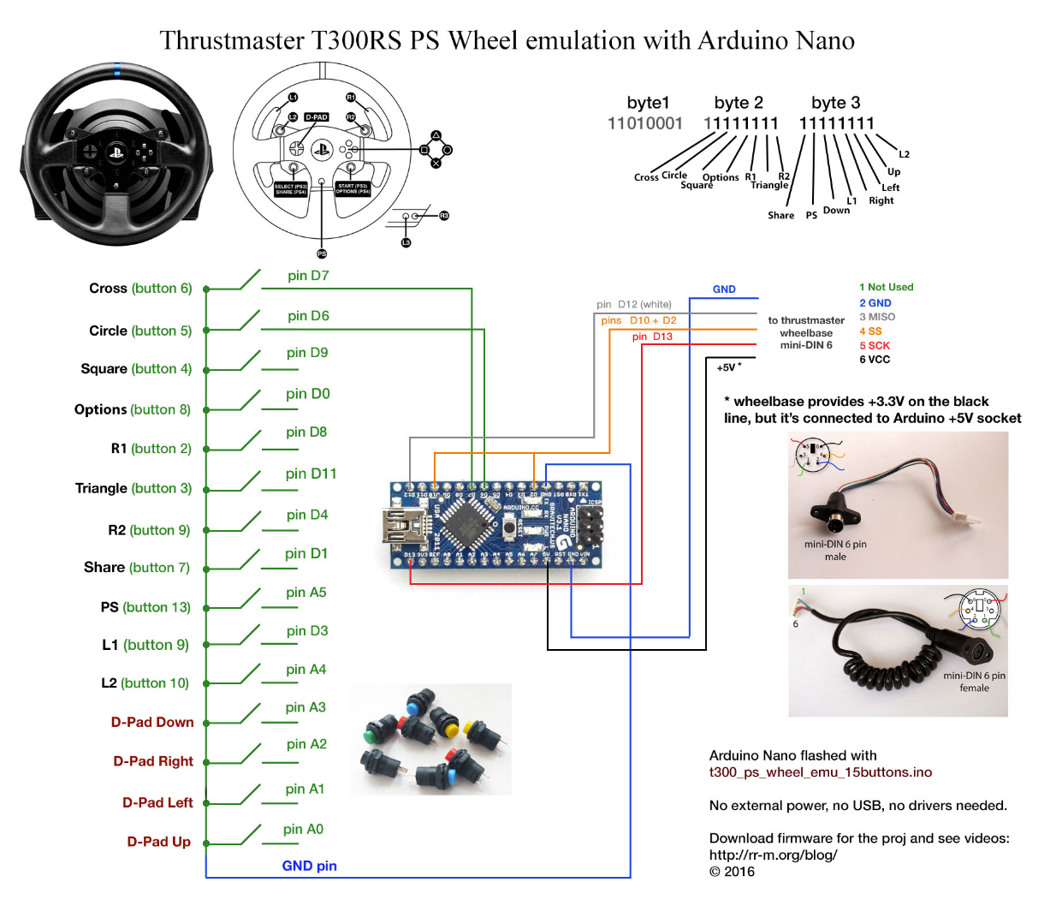
Step 1: Follow the wiring diagram to connect the wires to the Mini din 6 pin male connector. Again make sure u are using the very small tip for your soldering iron. Flux, magnifying glass with helping hands must be used. Set the soldering iron on 325C for the best results.
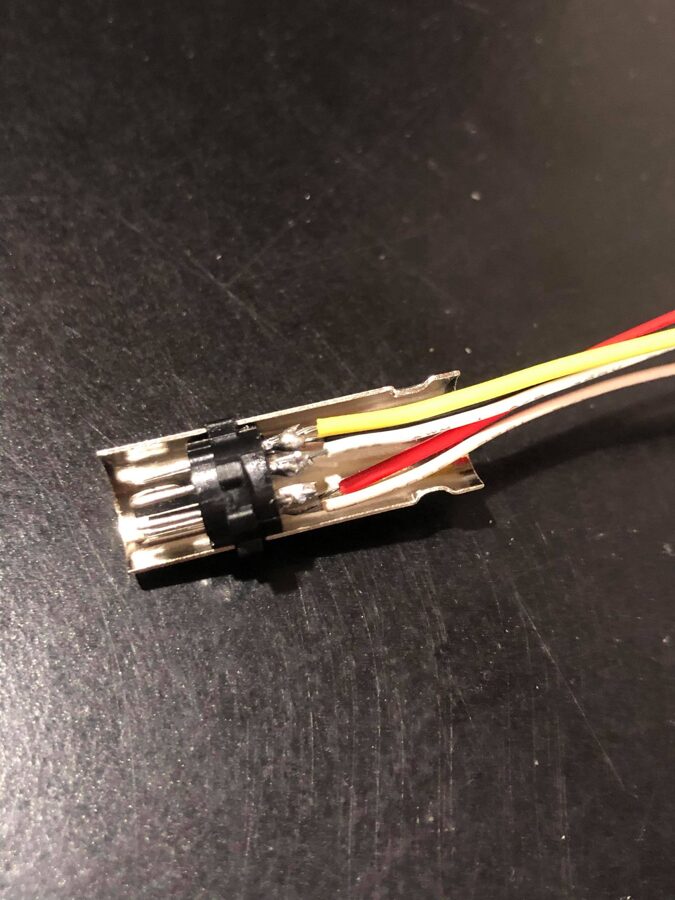
Step 2: Put the connector together and slide it through the adapter hole. If you are not sure about the wiring you can always grab a breadboard and connect one button or so to check if everything is working.
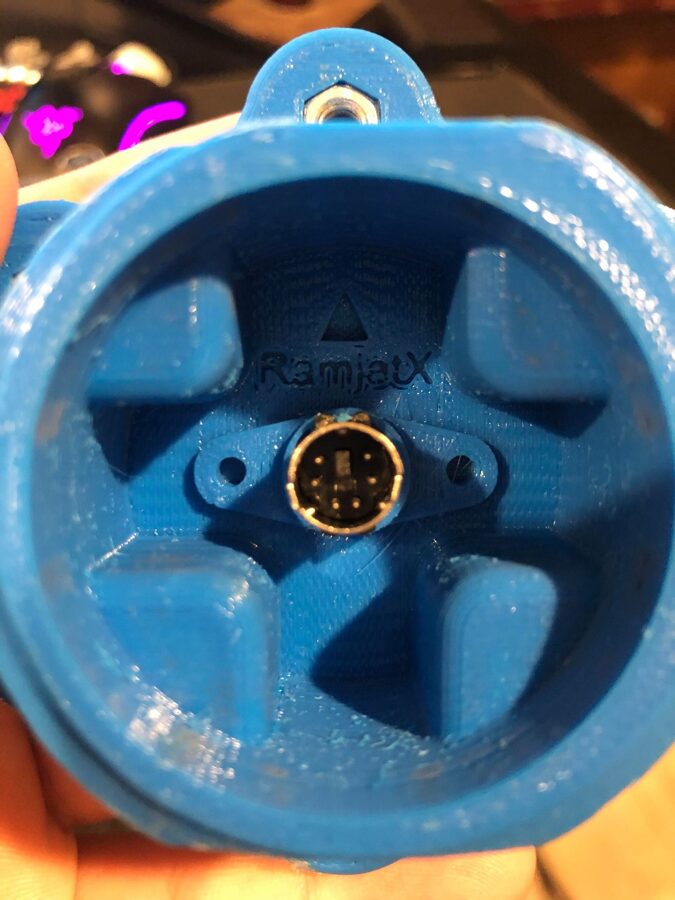
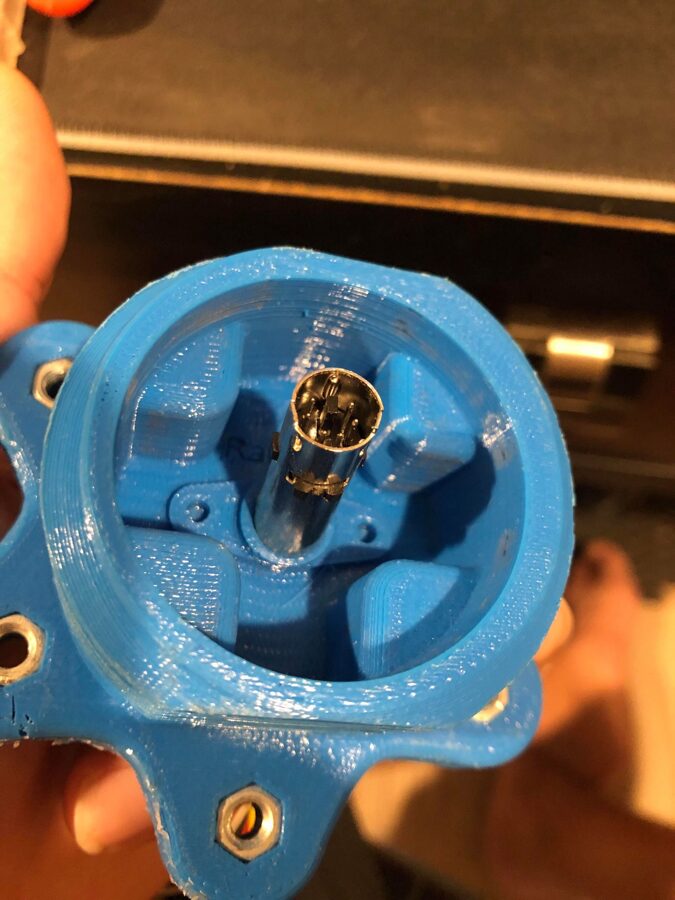
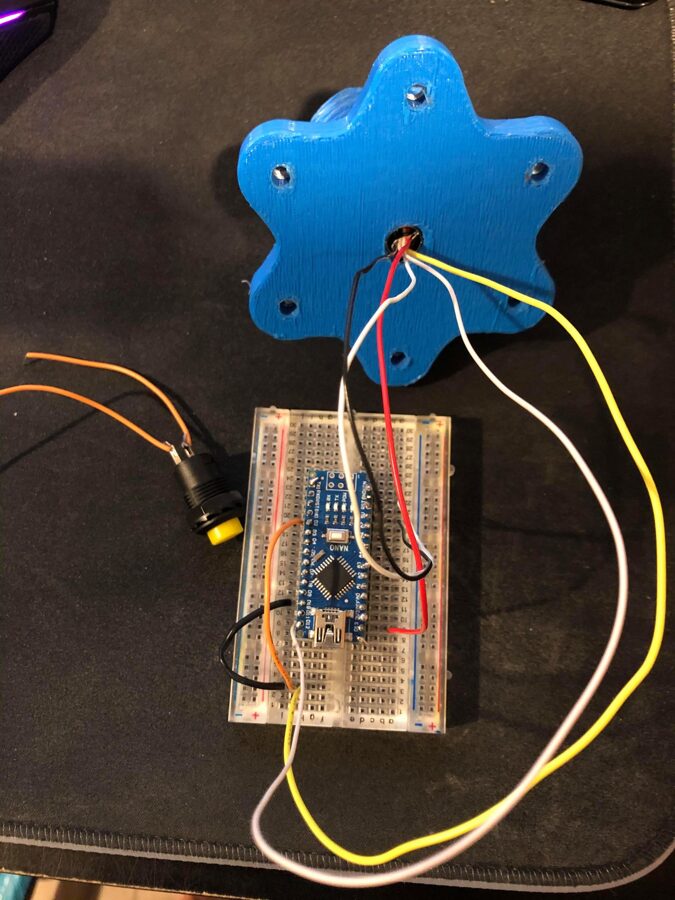
Note: in my case, the connector was slightly bigger than the adapter hole so using the drill I made the hole slightly bigger for the connector and I added super glue at the end.
Step 3: Connect the wires from the connector to the Arduino Nano. The wires should be as short as possible.
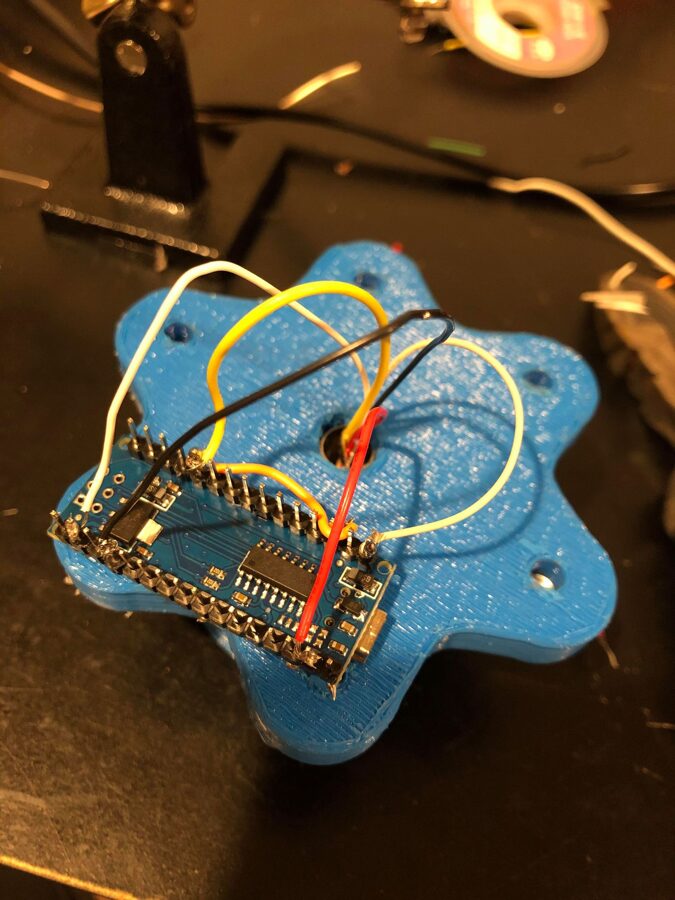 Step 4: Add the push buttons in all holes. In my case the holes were slightly small than the buttons, So I used the rotary tool to make the holes bigger. If you run into the opposite where the holes are bigger you can use hot glue or super glue to fix the button in the hole. After that connect all the wires to the buttons and then connect them to the Arduino.
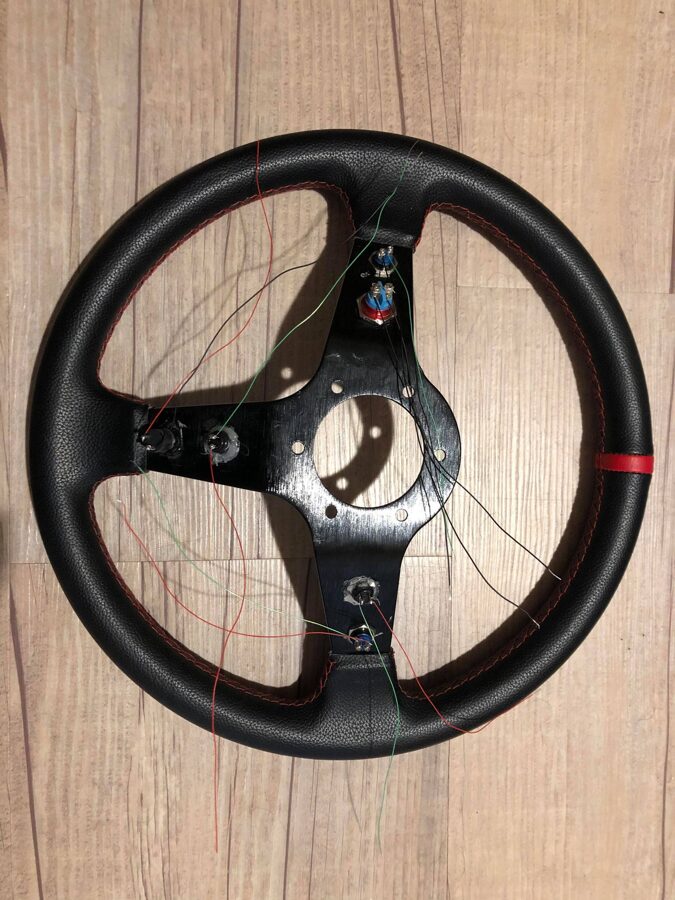
Step 5: At this point, u can put the adapter back to the wheel and all the wires including the Arduino will be set in the middle. As you see in the picture below.
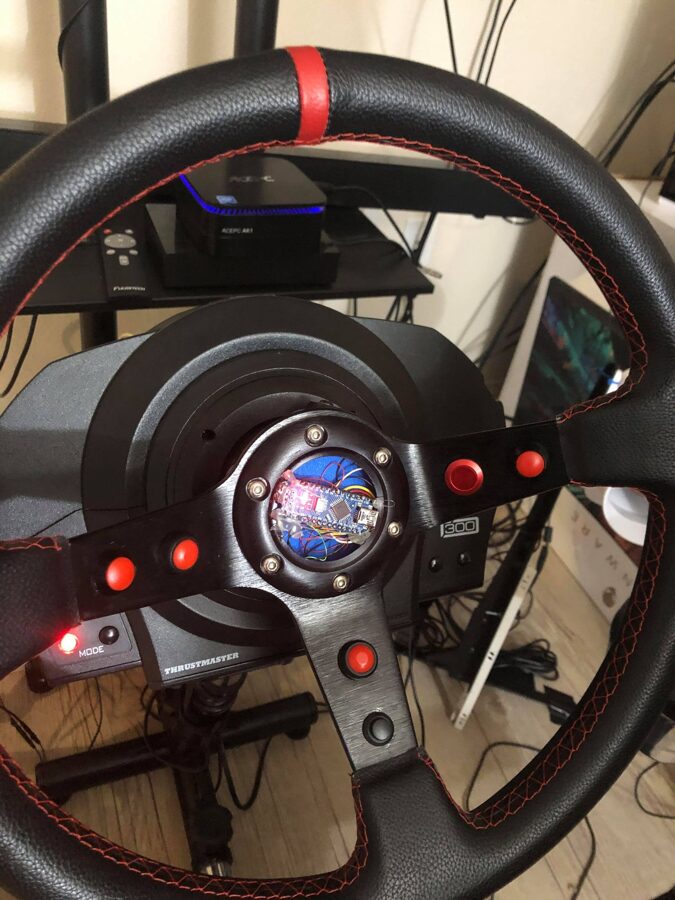
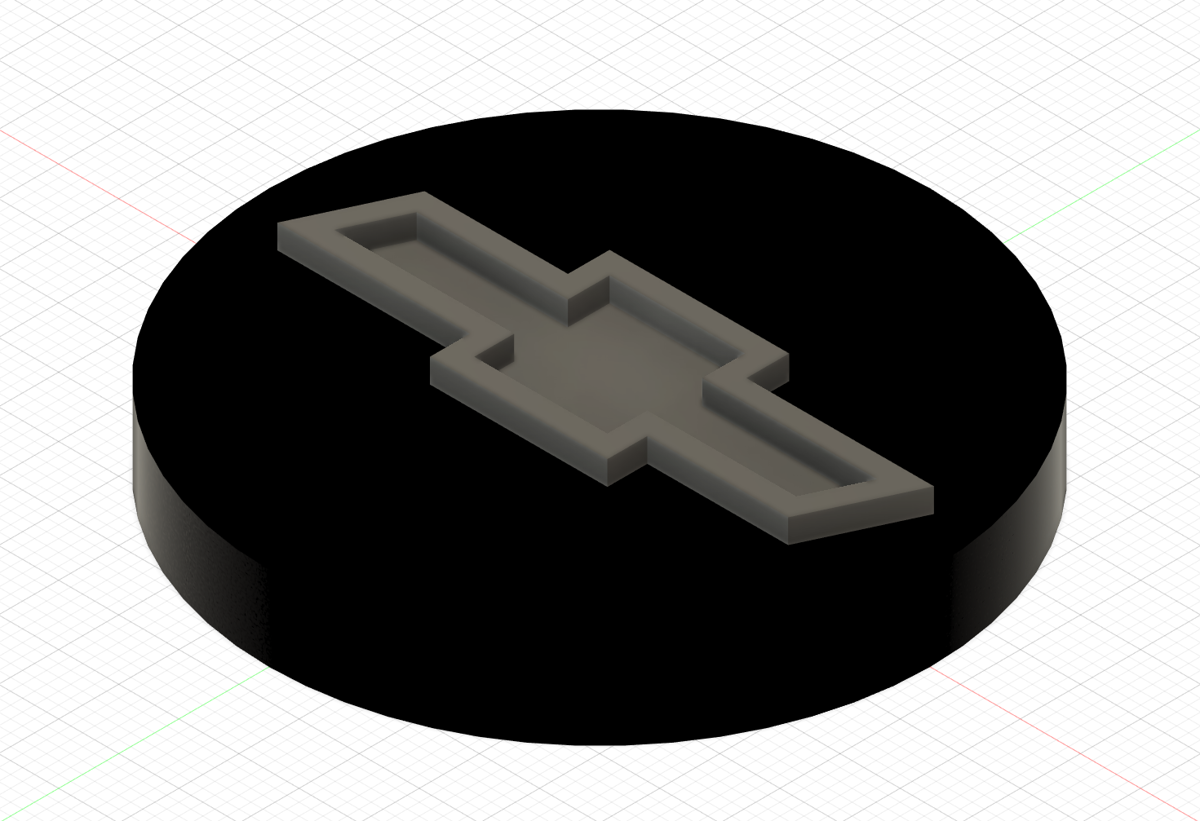
Step 6: As u see it does not look good to have wires in the middle of your wheel. So I decided to design a center cap using Fusion 360 that will go over that which was 3d printed later.
Reference:
https://www.thingiverse.com/thing:2630578
http://rr-m.org/blog/thrustmaster-t300rs-steering-wheel-arduino-emulator/
